
Free printable perio charting form and template
A one page periodontal charting template to print and fill in by hand. Six sites per tooth, both arches, no email address and no account.
Print it with your clinic name on it
Type what you want on the sheet and download your own copy. Leave a field empty and it prints as a blank rule to fill in by hand.
Everything stays in your browser. Nothing is uploaded, and only the clinic and clinician names are kept on this device.
The labels printed on the sheet stay in English.
Just the blank sheet
Nothing to fill in. Download it and print it as it is.
One page. Prints in black and white. Print as many copies as you like.
Six sites per tooth, on a single page
The same rows you would chart on screen, laid out for a clipboard. Upper and lower arch, buccal and lingual, all 32 teeth.
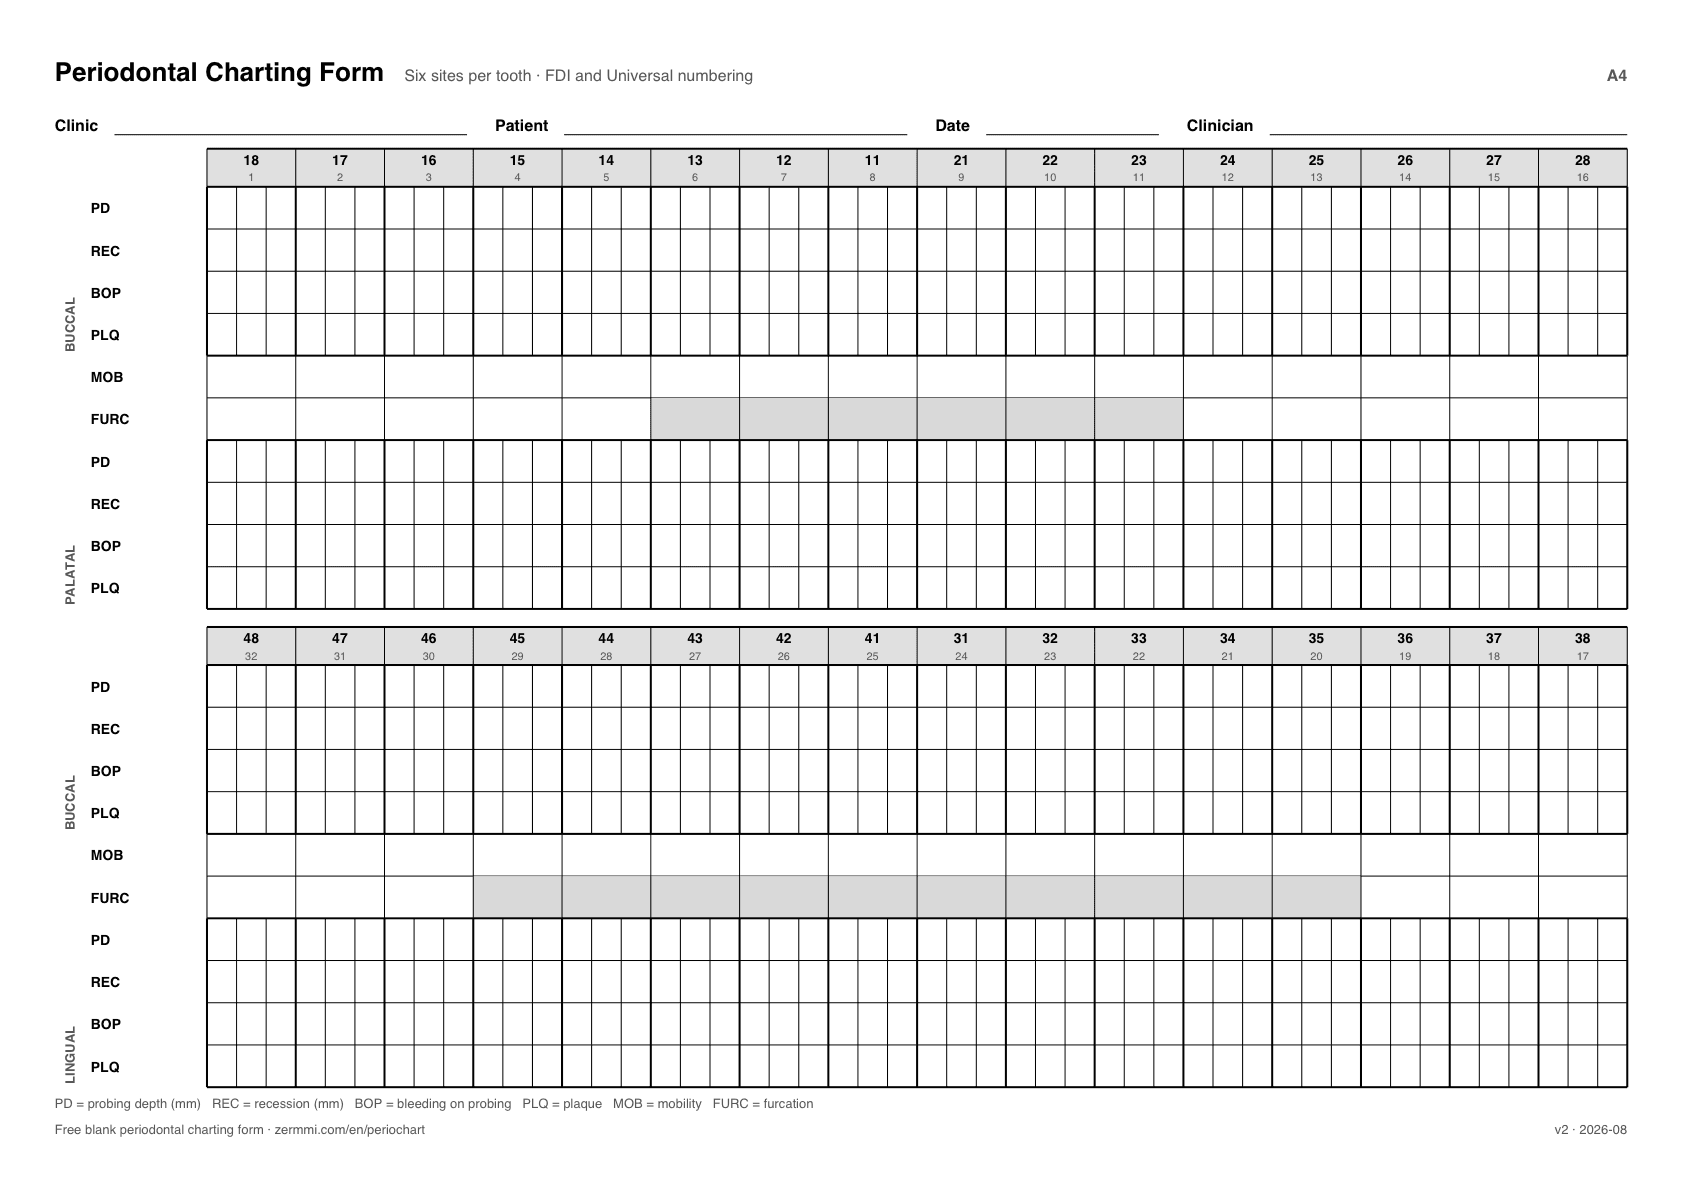
- PD, probing depth
- Six boxes per tooth in millimetres, three buccal and three lingual, recorded mesial to distal.
- REC, recession
- Position of the gingival margin in millimetres, at the same six sites, so attachment loss can be worked out later.
- BOP, bleeding on probing
- Tick the sites that bleed. The percentage of bleeding sites is what you compare between visits.
- PLQ, plaque
- Tick the sites with visible plaque, scored the same way as bleeding, so both give a percentage.
- MOB, mobility
- One box per tooth for the Miller grade, 0 to 3.
- FURC, furcation
- One box per tooth, on molars and upper premolars. Single rooted teeth are shaded out so nothing is recorded there by mistake.
From a blank sheet to a chart you can compare
Nothing here is specific to our tool. It is the order most clinicians already work in, written down so a new nurse or student can follow it.
- 1
Print at actual size
Landscape, one sheet per visit. Do not use fit to page, or the boxes shrink below writing size.
- 2
Fill the header first
Clinic, patient, date and clinician. Or type them into the panel above and the sheet arrives with them already on it.
- 3
Work one arch at a time
Start at the upper right and follow the tooth numbers across. Six probing depths per tooth, the buccal row first, then the lingual row.
- 4
Mark bleeding as you probe
Tick BOP at the site itself, not at the end of the arch. Plaque is easier to judge before you move on as well.
- 5
Total the sheet before filing
Count bleeding and plaque sites against the total, and note the deepest pocket. Those three numbers are what the next visit is compared against.
FDI and Universal numbers on the same sheet
Every tooth carries its FDI number in bold with its Universal number, 1 to 32, underneath. Most of the world charts in FDI and the United States and Canada in Universal, so one sheet works in either without converting in your head. Mexico prints on US Letter and charts in FDI, which is why paper size and numbering are separate choices here.

Let the chart do the counting
The online periodontal chart adds up bleeding, plaque and pocket depth as you type, and exports a finished PDF. Free, no card, nothing to install.
Chart online freeQuestions about the form
- Is the perio charting form really free?
- Yes. It is a PDF you can download and print as often as you like, with no email address, no account and no watermark. Practices and teaching clinics are both welcome to use it.
- Which paper size should I print?
- A4 for most of the world and US Letter for the United States and Canada. Both are a single landscape page. Print at actual size rather than fit to page, so the boxes stay big enough to write in.
- Can I put my clinic name on it?
- Yes. Type your clinic, clinician, patient and date into the panel on this page and download your own copy. The values are stamped onto the PDF inside your browser, so they are never sent anywhere.
- Why is there no suppuration row?
- Two more rows push every row below a height you can still write in on one page. Suppuration is recorded in the online chart instead, together with the totals the paper sheet leaves you to add up by hand.